File Manager and Terminal
Table of Contents
File Manager and Terminal are two tabs on your site's page in the HostBarrel Hub. File Manager lets you browse, upload, edit and download files in your browser. Terminal opens a command line on your site. Both work as your site's own SFTP user, so you need no extra program.
Who Has Access
Both tabs need permission to manage Sites and Tools. The Owner, Admin and Developer roles have it by default and the Billing role does not. Without it, the tabs are not shown. See managing your team.
Neither tab works while a site is suspended. A site marked Being built by HostBarrel keeps its site tools closed until go-live: follow it in Web Projects instead.
Opening File Manager and Finding a File
Step 1: Open the File Manager tab
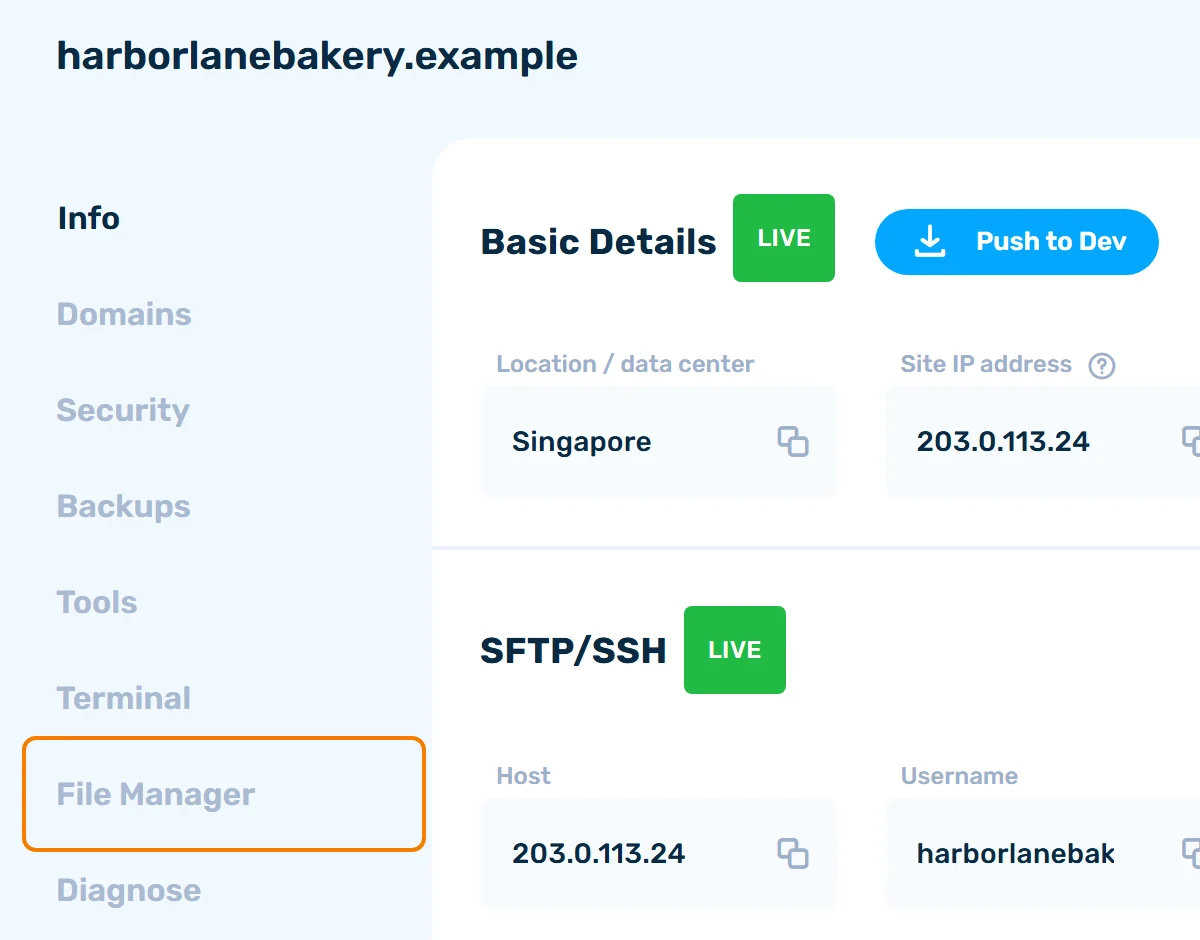
Open your site from the Sites page and click File Manager in the list of tabs on the left.
Step 2: Open a folder
File Manager opens at the site root. WordPress is in the public_html folder. Click a folder to open it, and use the address bar to go back up.
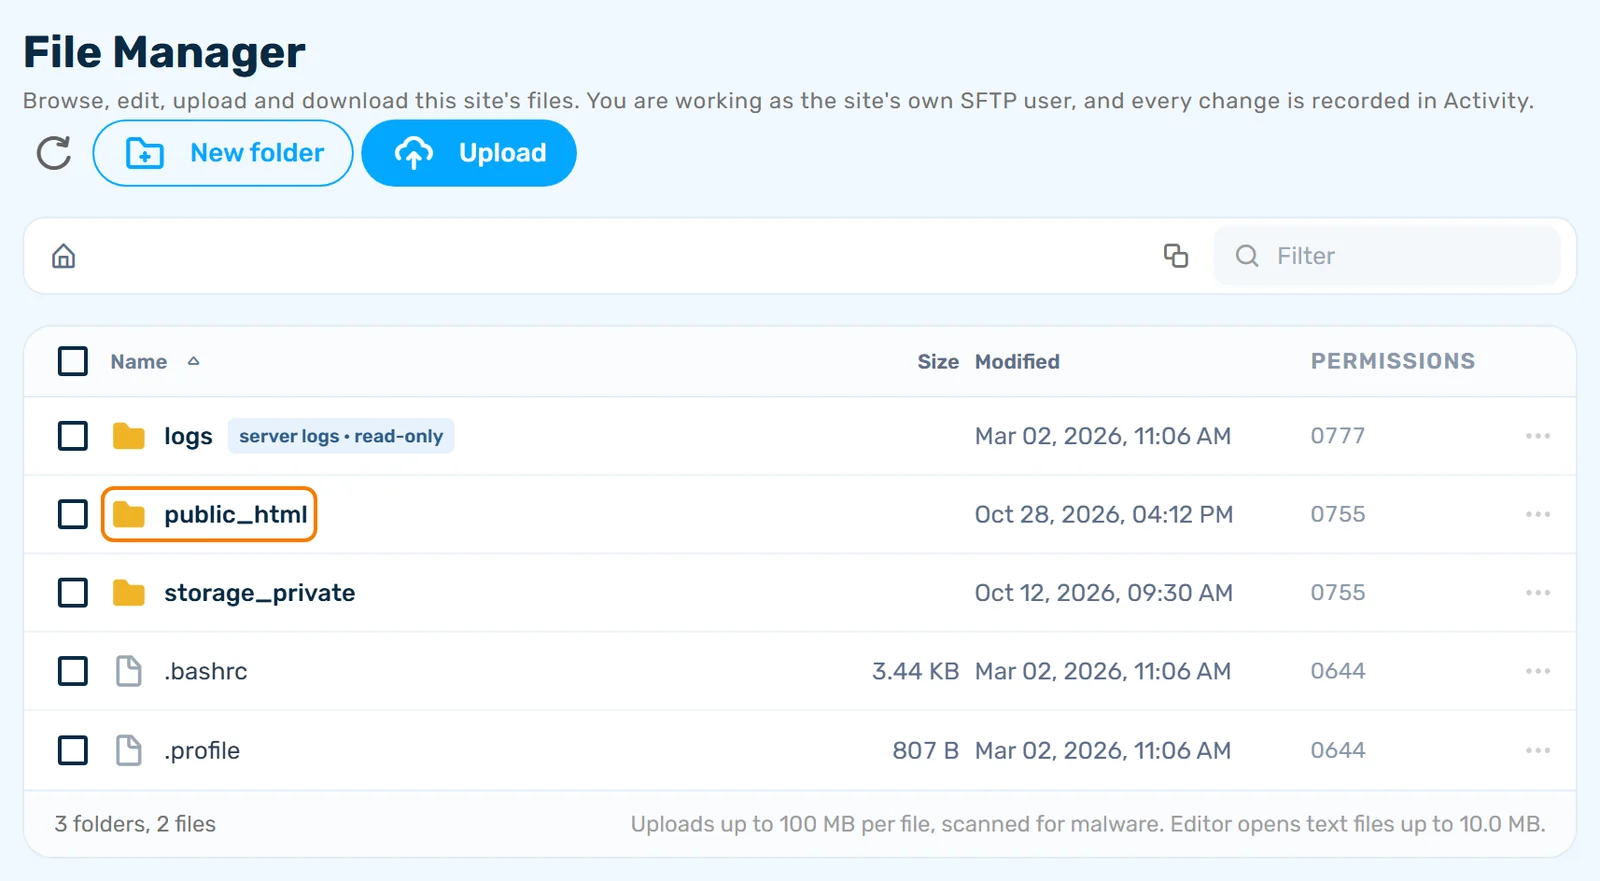
Filter searches the current folder, and the Name, Size and Modified headings sort it.
The three-dot menu on each row has Edit, Download, Rename, Move to…, Copy to…, Duplicate and Delete. New folder is at the top of the page. Tick several rows to move, copy or delete them together. Download works on one file at a time.
Deleting cannot be undone from here, and a folder is deleted with everything inside it. Every change is recorded on the site's Activity tab.
Uploading Files
Step 1: Open the folder and click Upload
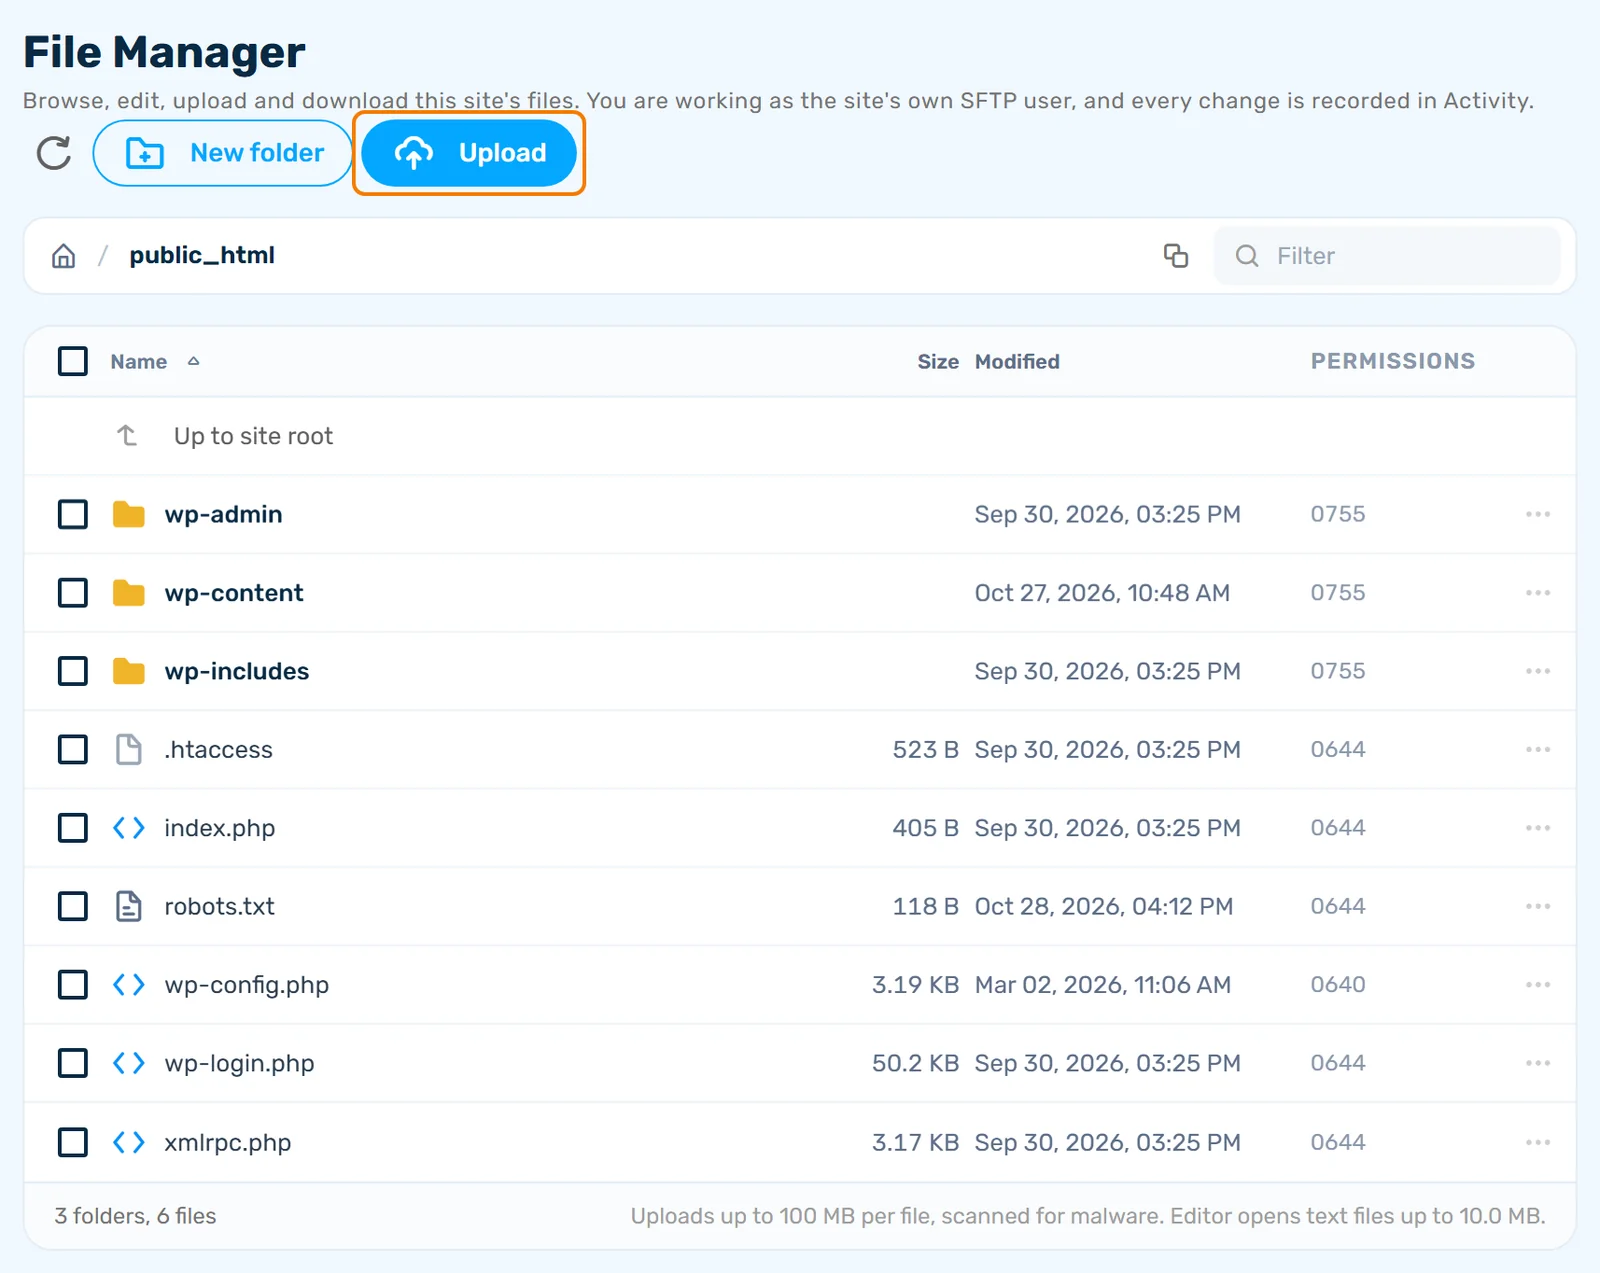
Go to the folder the file belongs in, then click Upload and choose your files, or drop files onto the list. They go into the folder you have open.
Step 2: Choose Replace or Skip if the name is taken
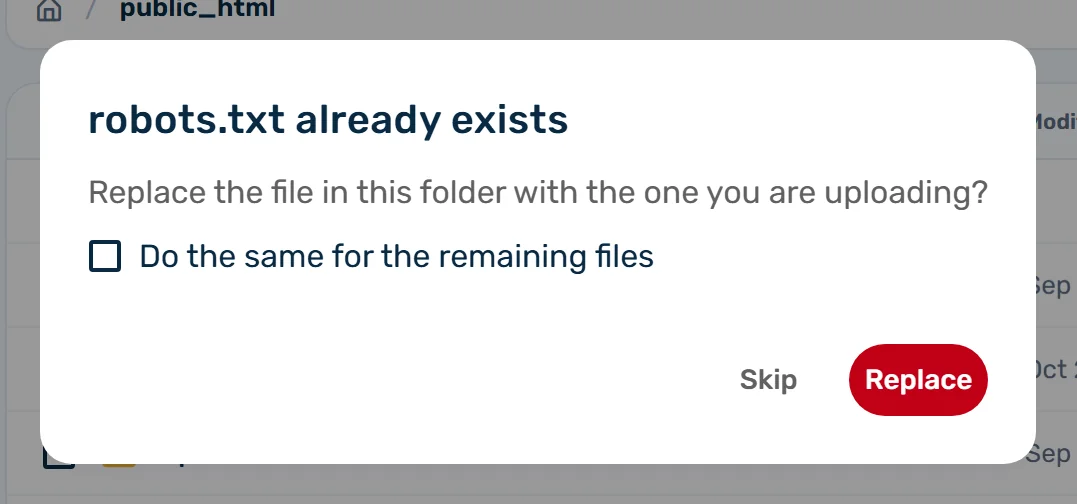
If a file with the same name exists, choose Replace or Skip. When you upload several files, you can tick Do the same for the remaining files.
Step 3: Watch the tray
Progress shows in a tray, where you can cancel an upload. When it worked, the tray says the upload is complete and the file is in the list.
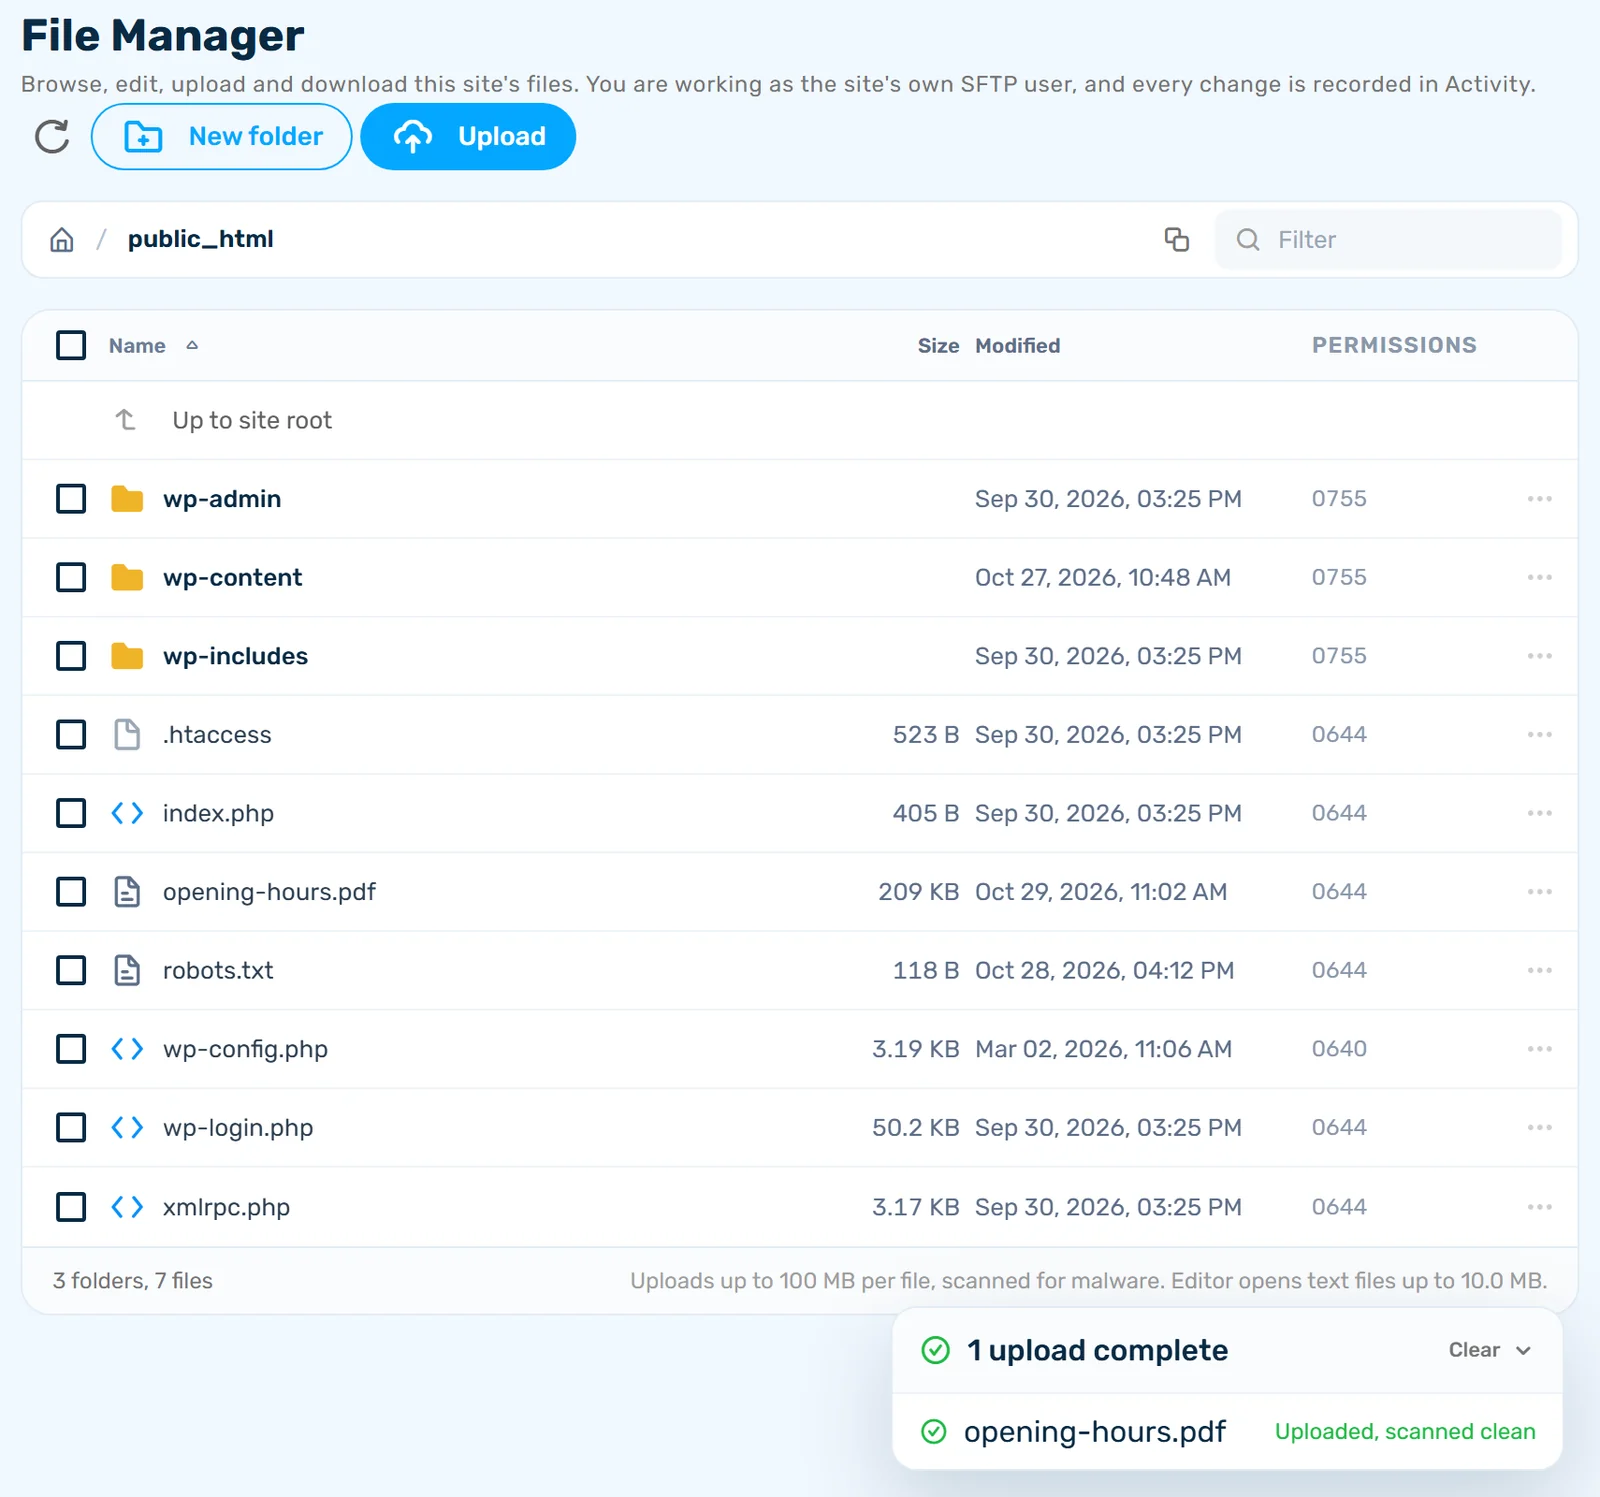
The line at the bottom of File Manager shows the largest file you can upload and the largest file the editor opens. These limits come from the API, so that line is always current. It also says when uploads are scanned for malware. A file the scanner refuses is not written to your site.
Editing a File
Step 1: Click the file and make your change
Click a text file to open it in the editor, then type your change. A dot next to the file name means you have unsaved work.
Step 2: Click Save
Click Save or press Ctrl+S.
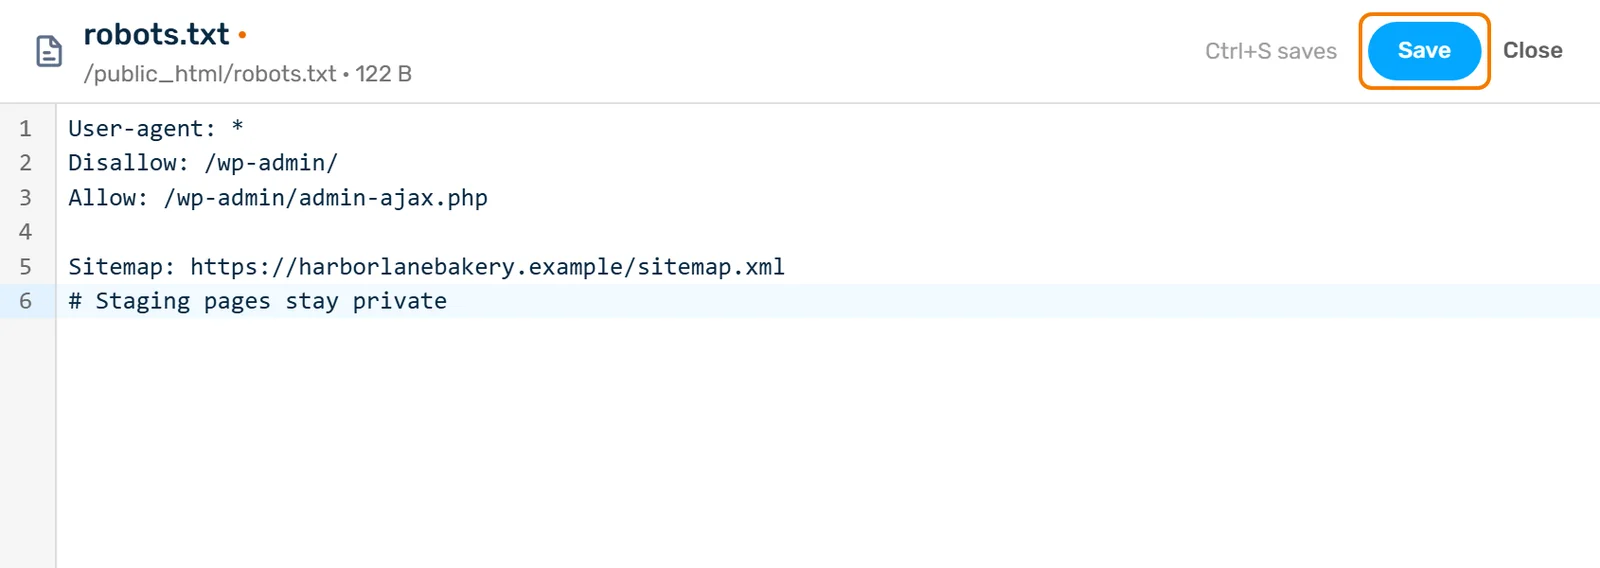
When it worked, the top bar shows Saved and the time.

Step 3: Click Close
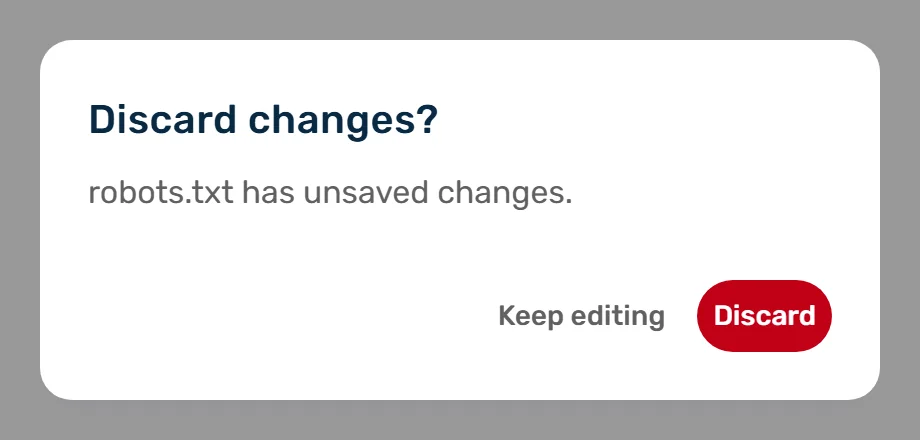
Click Close to go back to the list. If you close with unsaved work, the Hub asks Discard changes? Choose Keep editing to go back, or Discard to drop your changes.
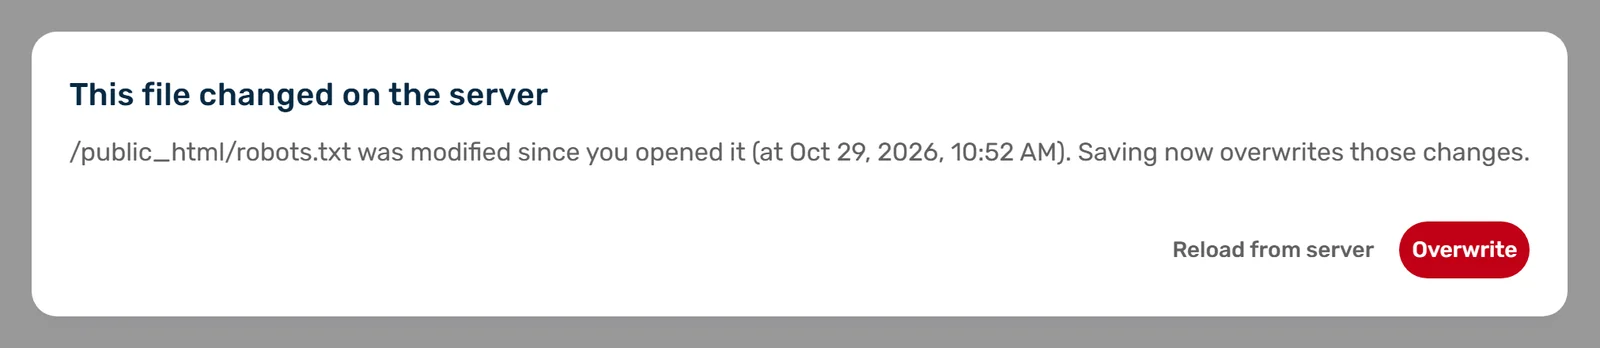
If the File Changed While You Were Editing
If the file changed on the server after you opened it, you can choose Reload from server or Overwrite.
A file that is not text, or is too large for the editor, offers Download instead. Text that is not UTF-8 opens read-only.
The Read-Only Logs Folder
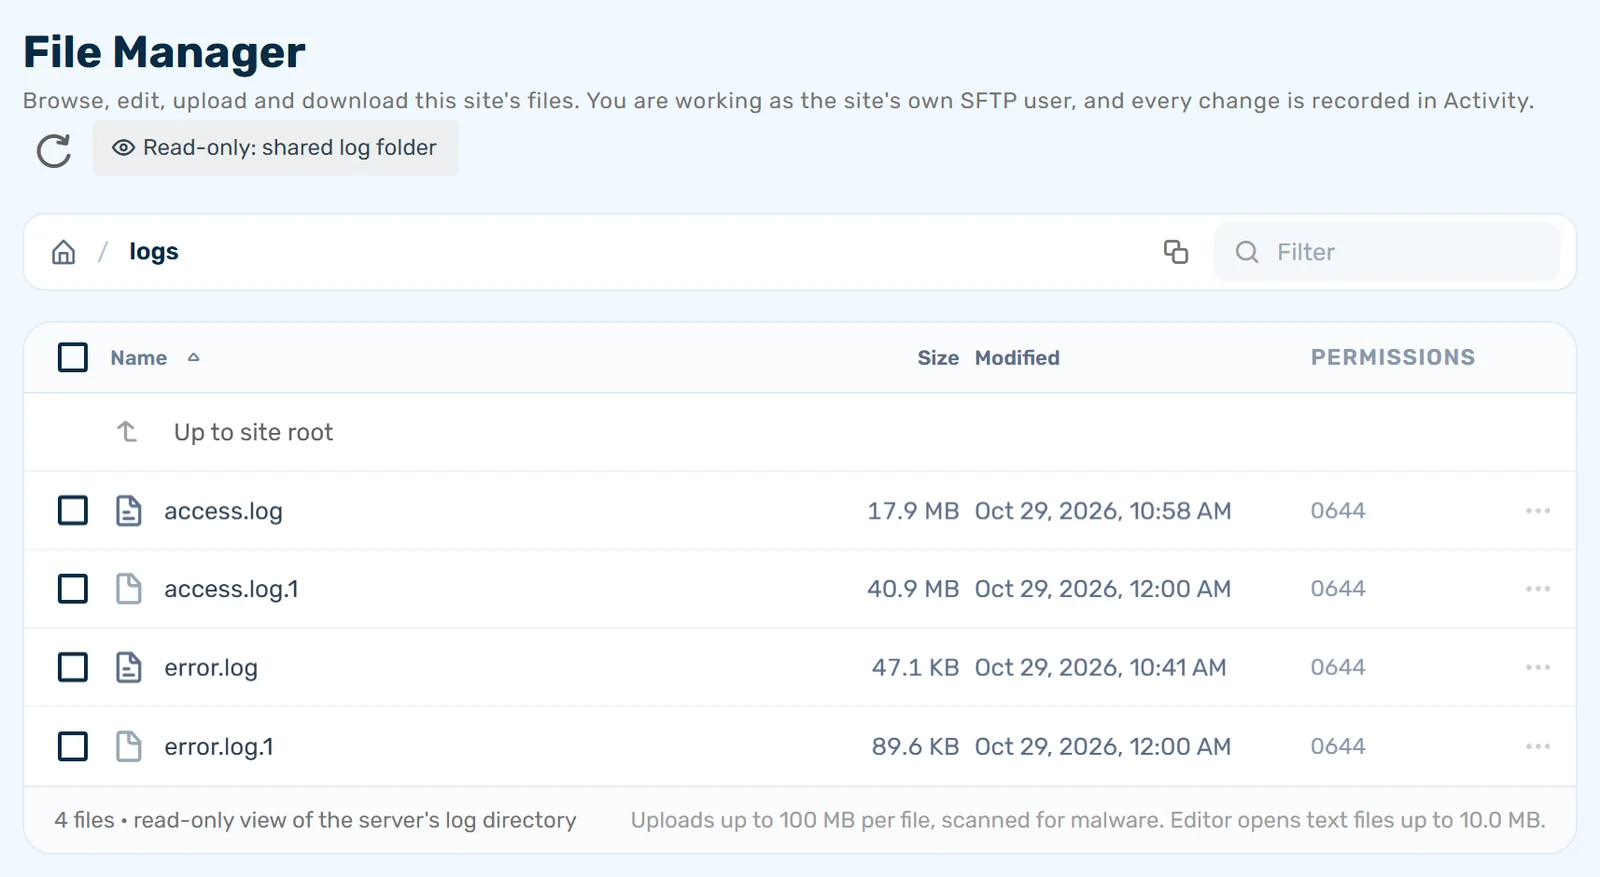
The logs folder in the site root is marked server logs · read-only. Inside it the page shows Read-only: shared log folder. You can open and download the logs, but you cannot upload, rename or delete anything there.
Using the Terminal
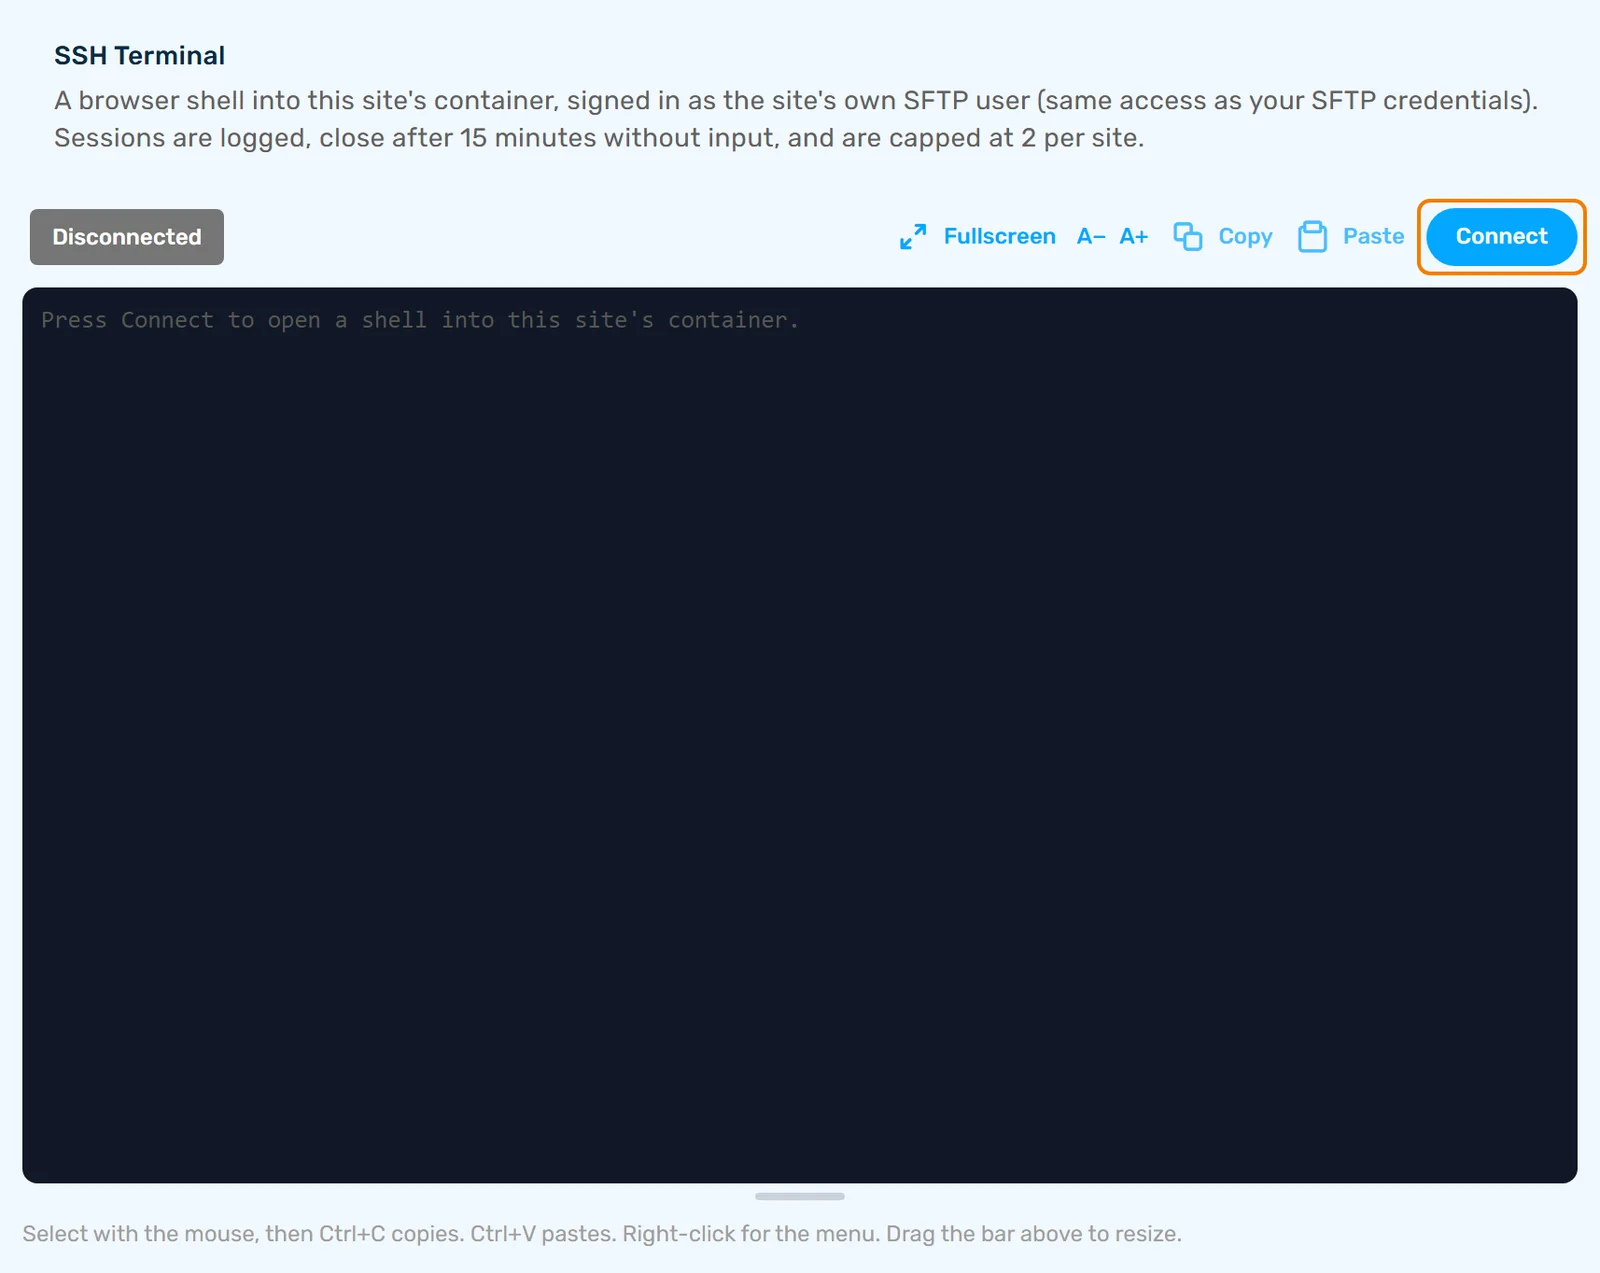
Step 1: Click Connect
Open the Terminal tab and click Connect. You get the same access as your SFTP login.
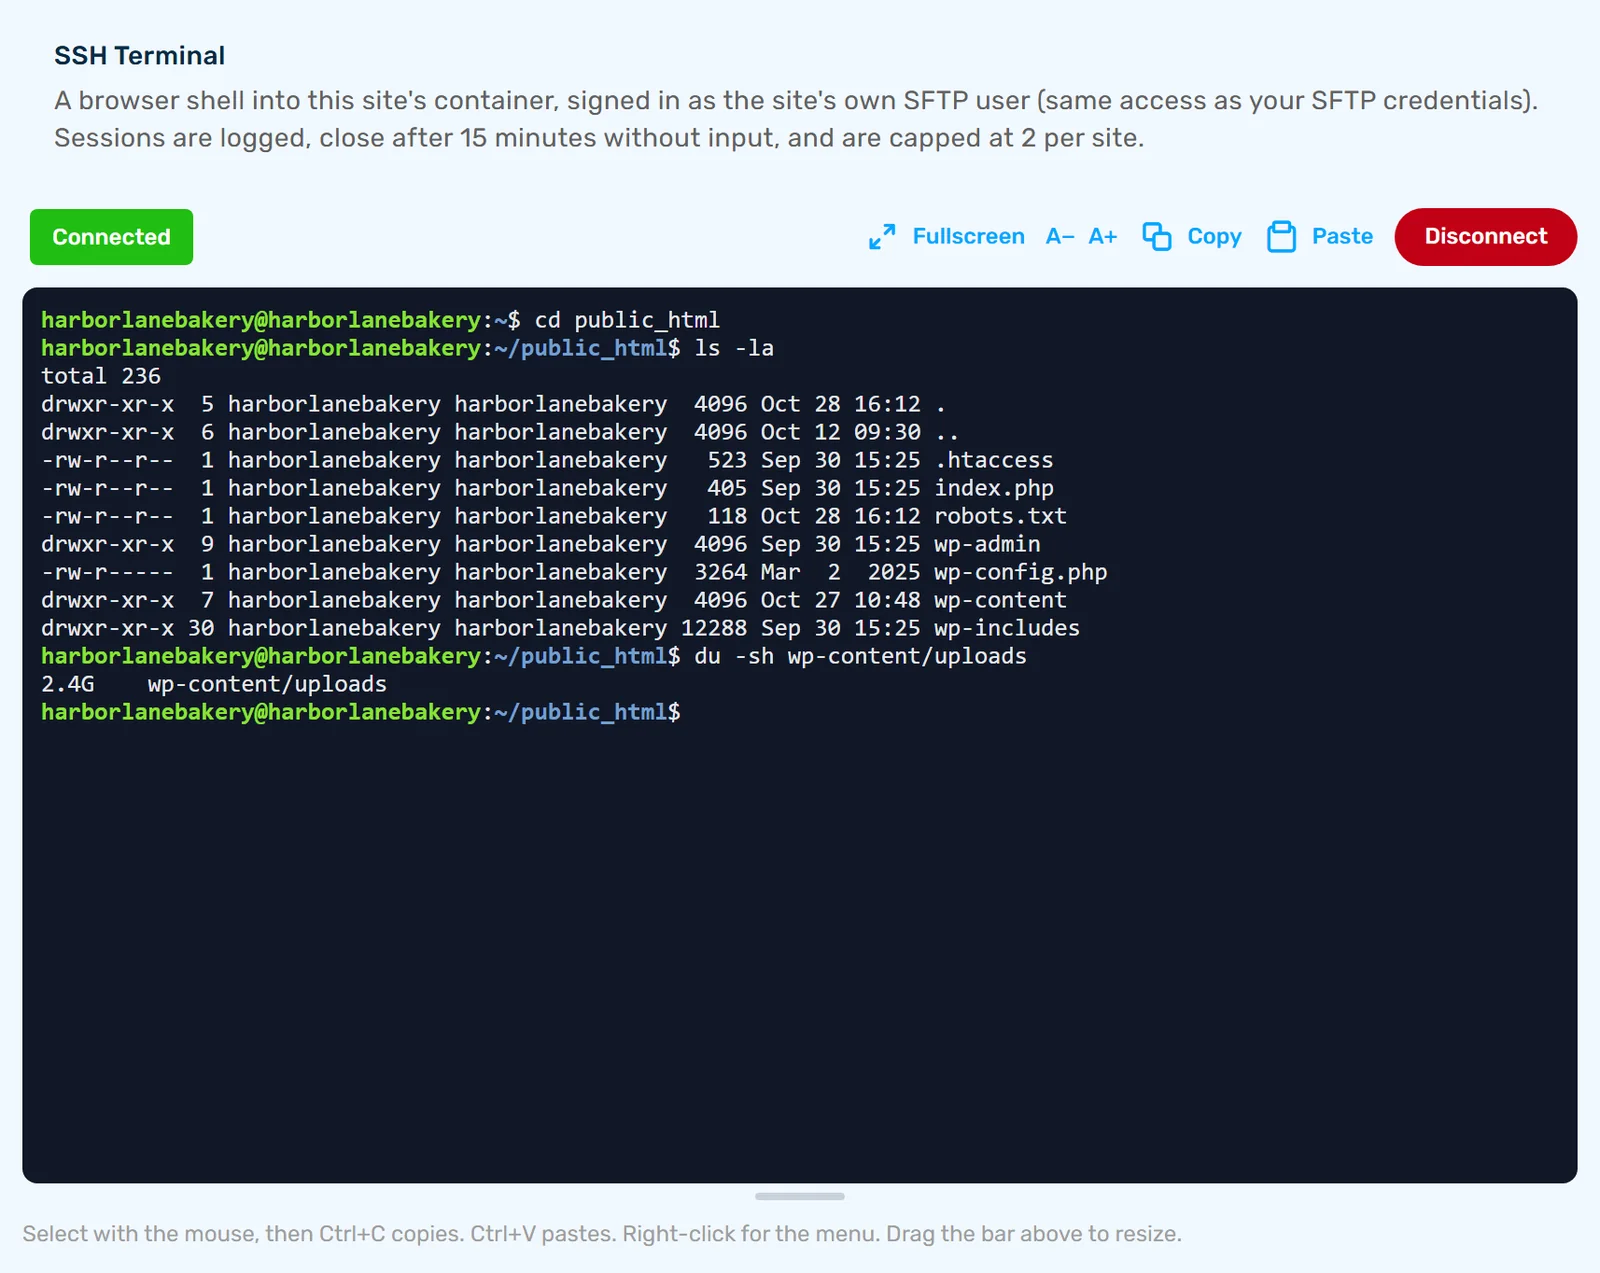
Step 2: Run your commands
When it worked, the label above the window turns green and says Connected, and you can type at the prompt.
Step 3: Click Disconnect when you finish
Disconnect ends the session, and Reconnect starts a new one.
- Sessions are logged
- A session closes after 15 minutes without input. A warning appears first, with a Stay connected button
- A session ends after two hours at most, then you reconnect to carry on
- A site can have 2 sessions open at once
- Pasting several lines asks you to confirm first, because each line runs the moment it arrives
The Warning Before You Leave
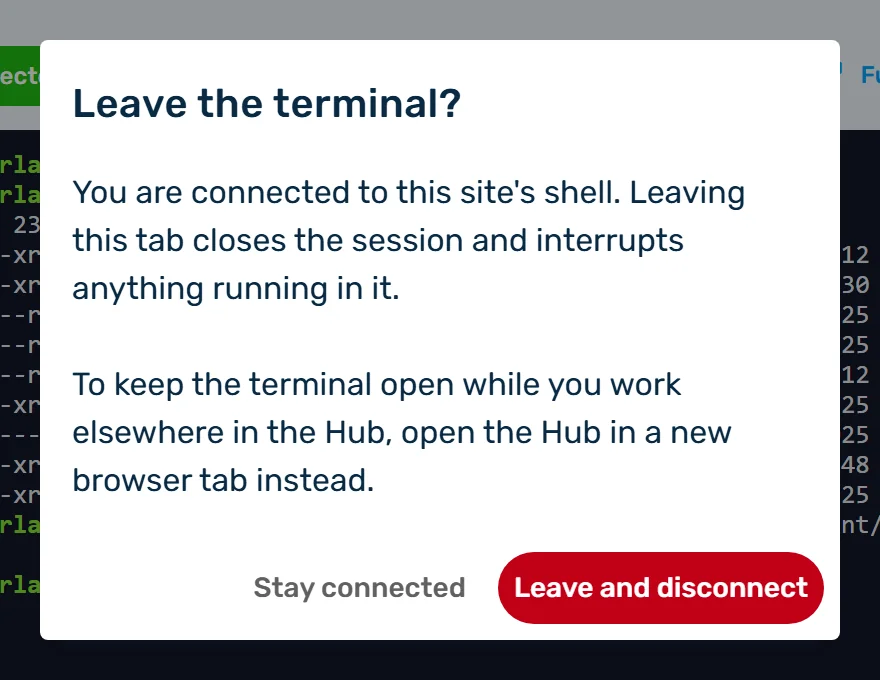
If you change tabs while connected, the Hub asks Leave the terminal? Leaving closes the session and interrupts anything running in it. Choose Stay connected or Leave and disconnect. To keep the Terminal running while you work elsewhere, open the Hub in a new browser tab.
When to Use Each One
- File Manager - Small edits, a few files, or reading a log
- Terminal - Running commands on your site
- SFTP - Files over the upload limit, downloading many files at once, or a folder too large for File Manager to list
Your SFTP details are on the site's Info tab. See Accessing Your Site: SFTP, phpMyAdmin & One-Click WordPress Login.